
Table of Contents
Home EV Charger Installation: The Ultimate Step-by-Step Guide
As the global transition to clean mobility reaches an inflection point in 2026, electric vehicles (EVs) have moved firmly from a niche technology to the mainstream market. Automakers are rapidly scaling up production, battery efficiencies are hitting record highs, and millions of drivers are replacing internal combustion engine vehicles with cleaner, battery-powered alternatives.
Yet, any experienced EV owner will tell you that the secret to a smooth ownership experience does not lie in the public fast-charging network. The true cornerstone of practical, daily EV usage is home EV charger installation.
Charging your electric car at home provides an unmatched level of convenience, drastically lower fuel costs, and a gentle charging profile that preserves your vehicle’s battery lifespan. However, an EV charger is not just another standard home appliance. It represents a continuous, heavy electrical load that draws significant power over consecutive hours, making a proper, safe, and code-compliant installation paramount.
Whether you own a detached home or live in a dense high-rise apartment complex, this extensive, 2,500-word blueprint covers every detail you need to successfully execute a home EV charger installation.
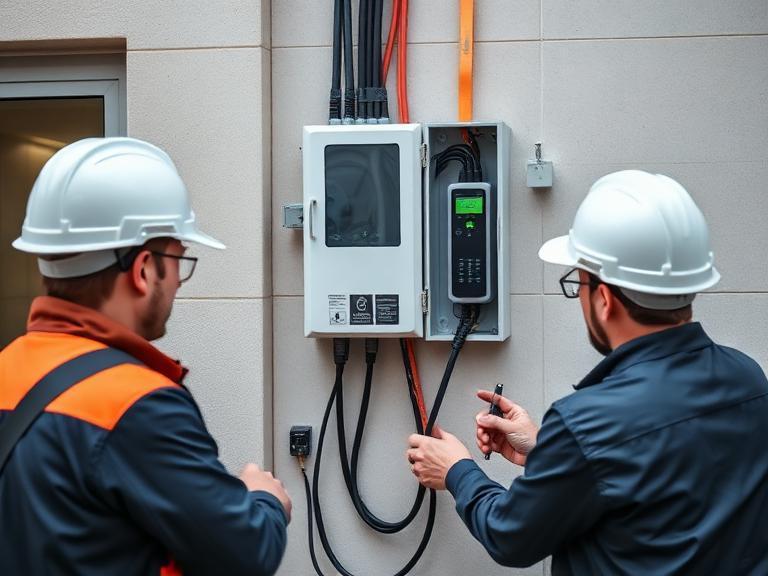
1. The Core Benefits of Home EV Charging
Before looking at the technical blueprints, it is important to understand why installing a dedicated home charging station is the single best investment you can make alongside purchasing the vehicle itself.
Unbeatable Cost Efficiency
Relying exclusively on commercial DC fast-charging plazas is economically inefficient. Public charging networks charge premium commercial rates, convenience fees, and demand charges, frequently pushing prices to high brackets per unit (kWh).
In contrast, residential electricity rates are far lower. Furthermore, power distribution companies (DISCOMs) increasingly offer specialized EV utility tariffs or Time-of-Day (ToD) rebates. By programming your vehicle to charge during off-peak windows (typically between 10 PM and 6 AM), your effective fuel cost drops dramatically, allowing you to recover your total installation costs within a matter of months.
Optimized Battery Longevity
Batteries are sensitive to thermal stress. Commercial DC fast chargers pump immense direct current into the vehicle, generating substantial internal heat that can accelerate battery degradation if overused. Home charging relies on Alternating Current (AC). The vehicle’s onboard charger slowly converts this AC power to DC, generating minimal heat. This gentle cycle keeps the battery pack within its optimal operating temperature range, maximizing its health over a decade of use.
Freedom from Range Anxiety
The psychological benefit of home charging is profound. Instead of monitoring the dashboard battery percentage during your daily commute or planning weekend stops around charging stations, you establish a seamless routine: plug the vehicle in when you park at night, and wake up to a 100% full “tank” every single morning.
2. Choosing the Right Home EV Charger (Level 1 vs. Level 2)
Your installation journey begins by selecting a hardware specification that matches your daily driving habits, budget, and the electrical infrastructure of your home.
Level 1: Trickle Charging via Standard Outlets
Every electric car ships from the factory with a basic portable charging cable. One end plugs into the car, and the other features a heavy-duty household plug (such as a 15A industrial pin socket).
- Power Delivery: Typically 2.5 kW to 3.6 kW.
- Charging Speed: Adds roughly 15 to 20 kilometers of range per hour of charging.
- Pros & Cons: It requires virtually zero upfront electrical hardware investment. However, fully charging a medium-sized 40 kWh EV battery takes between 12 and 16 hours, making it less practical for high-frequency or long-distance commuters.
Level 2: Dedicated AC Wallbox Chargers (The Gold Standard)
A Level 2 charging setup involves mounting a dedicated Electric Vehicle Supply Equipment (EVSE) unit directly onto your wall or a metal pedestal. These units are hardwired directly into a heavy-duty dedicated circuit breaker inside your main electrical panel.
- Power Delivery: 7.4 kW (Single-Phase) up to 11 kW or 22 kW (Three-Phase).
- Charging Speed: Adds 35 to 60 kilometers of range per hour, allowing standard vehicles to reach full capacity overnight in 5 to 6 hours.
- Smart Features: Modern Level 2 chargers are mini-computers equipped with Wi-Fi, Bluetooth, and cellular connectivity. They allow users to monitor sessions remotely, lock the hardware via RFID cards to prevent power theft, and receive over-the-air (OTA) firmware updates.
3. Pre-Installation Infrastructure & Electrical Auditing
Before purchasing an EVSE unit, you must confirm that your home’s electrical panel and utility supply can handle the load. Bypassing this step can result in blown main fuses, regular circuit breaker trips, or severe electrical safety hazards.
Step 1: Evaluating Your Sanctioned Grid Load
Every home has a predefined “sanctioned load” or “service capacity” allocated by the local utility provider, measured in kilowatts (kW) or Amperes (A).
- A standard single-phase residential home often operates with a sanctioned load of 3 kW to 5 kW.
- If you attempt to connect a 7.4 kW Level 2 charger to a 4 kW panel, the aggregate demand will immediately exceed the system limits the moment your charger scales up.
To run a 7.4 kW home charger safely alongside common household loads (like air conditioners, water heaters, and kitchen appliances), you need a sanctioned load of at least 8 kW to 10 kW. If your current capacity falls short, you must submit an official load-enhancement application to your local distribution utility before proceeding with the physical installation.
Step 2: Single-Phase vs. Three-Phase Supply
The type of electrical connection running into your property dictates your charger options:
- Single-Phase (230V): Found in the vast majority of standard homes. The absolute practical limit for a single-phase EV charging system is 7.4 kW, which draws 32 Amperes of current.
- Three-Phase (415V): Commonly found in luxury villas, modern high-rises, and larger commercial structures. A three-phase line can easily support 11 kW or 22 kW chargers, cutting charging times significantly.
Important Constraint: Your vehicle’s internal configuration acts as the ultimate gatekeeper. If your electric car features an onboard AC charger limited to 7.2 kW, plugging it into a premium 22 kW three-phase charger will not speed up the process; the vehicle will safely cap the intake at its maximum internal threshold of 7.2 kW.
4. Technical Blueprint and Electrical Safety Code Compliance
Under modern safety codes—including the latest National Electrical Code (NEC) updates and the Central Electricity Authority (CEA) guidelines—residential EV charging systems must feature specific electrical safety components. A proper home installation requires a completely dedicated run from the main distribution board.
| Protection Component | Mandatory Technical Requirement | Primary Safety Function |
| Dedicated Circuit | Isolated line directly from the main breaker panel. Never tap into an existing appliance link. | Prevents circuit overloading and localized heating from shared continuous current. |
| Circuit Breaker (MCB/RCBO) | Rated at 125% of the continuous load (e.g., 40A breaker for a 32A charger). | Provides vital short-circuit protection and thermal overcurrent mitigation. |
| Residual Current Device (RCD) | Type-B RCCB, or Type-A RCD paired with an integrated 6mA DC leakage detector. | Instantly cuts off current upon detecting microscopic AC or DC current leaks, preventing lethal shocks. |
| Surge Protection Device (SPD) | Type-2 Surge Protector integrated into the local distribution box. | Shields the charger’s computerized control board from sudden grid voltage spikes or lightning strikes. |
| Earthing Line (Grounding) | Independent copper plate or chemical grounding rod with a tested resistance below 2 to 5 Ohms. | Provides a low-resistance path to the ground; the charger will automatically fault out if grounding is compromised. |
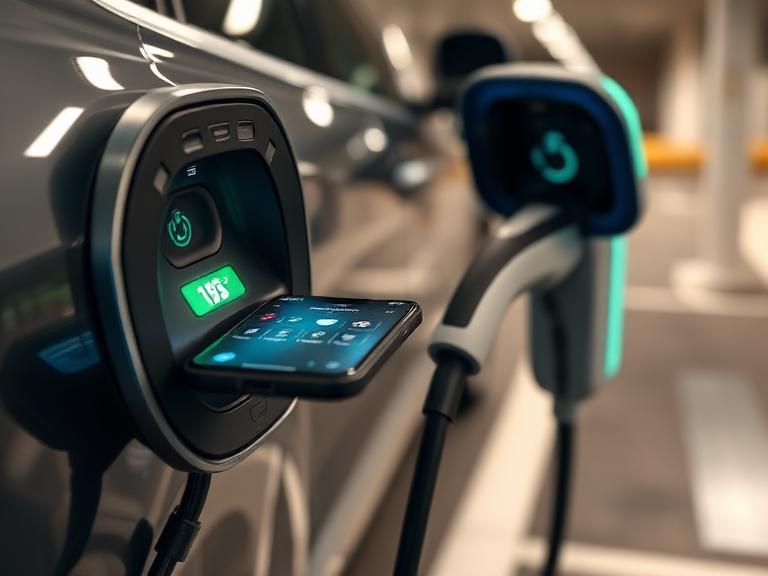
Selecting the Proper Cabling Wire Gauge
Selecting the right wire gauge is vital to prevent fire hazards inside your walls. Because charging draws sustained high current for hours, standard residential wiring is completely inadequate.
- For a standard 7.4 kW (32 Amp) installation over a reasonable distance, use a high-quality 6 sq. mm copper core cable as your baseline.
- If your parking spot is located a long distance from the main panel (exceeding 25 to 30 meters, as is common in basement parking configurations), you must upsize the wiring to a 10 sq. mm copper core cable. This minimizes voltage drops and controls heat accumulation over long distances.
- Always ensure that any exposed or outdoor cable runs are encased in rigid, heavy-duty weather-resistant conduits or utilize high-grade armored cabling.
5. Step-by-Step Installation Protocol
Executing a home EV charger installation requires a logical, methodical approach to ensure regulatory compliance and operational safety.
1.Conduct a Comprehensive Load Audit and Path Survey:Phase 1.
Examine your main utility bill to locate your current sanctioned load. Measure the physical distance from your primary electrical panel directly to your target parking spot to calculate the precise wiring run and check for potential obstacles.
2.File for Utility Approvals and Load Enhancements:Phase 2.
If your home’s calculated total electrical load (existing appliances plus the new charger) exceeds your panel’s limit, file a load-enhancement request through your local utility provider’s online portal. If you live in an apartment, present your structural safety blueprint to the building’s management committee or Resident Welfare Association (RWA) to secure a formal No-Objection Certificate (NOC).
3.Prepare the Physical Site and Install the Grounding Rod:Phase 3.
Mount a dedicated, heavy-duty weatherproof electrical enclosure panel near your parking space. Drive a dedicated chemical earthing rod deep into the ground nearby to guarantee an absolute, independent low-resistance safety path specifically for the EV charging circuit.
4.Lay the Heavy-Duty Cable Run:Phase 4.
Pull the fire-retardant armored copper cable from the primary home distribution board directly to the secondary parking panel box. Ensure the entire run is safely enclosed inside impact-resistant conduit pipes to protect against environmental wear or accidental damage.
5.Wire the Distribution Box and Mount the EVSE Hardware:Phase 5.
Install your safety switchgear—the properly rated MCB, the Type-B RCD, and the Surge Protection Device—securely inside the local parking distribution panel. Wire the output terminals directly into the main Level 2 wallbox charger unit, then bolt the hardware securely to the wall or a dedicated ground pedestal.
6.Execute Technical Commissioning and Initial Charging Diagnostics:Phase 6.
Turn on the primary electrical feed breaker. Use a multimeter to verify steady incoming voltage and ensure that ground loop resistance measures safely within code limits (below 5 Ohms). Connect the vehicle’s charging gun, check for normal communication handshake lights, monitor the terminal temperatures during the first hour of charging to ensure everything stays cool, and pair the device with its companion smartphone app.
6. Comprehensive Cost Breakdown Matrix
The overall cost of an EV home charger installation is split between the hardware choice, raw installation materials, structural layout complexity, and regulatory processing fees.
Estimated Project Cost Matrix (2026 Reference Benchmarks)
The following matrix outlines standard investment parameters based on typical home configurations, assuming a standard 15-meter cable run from the main meter panel.
| Project Component | Level 1 Basic Setup (3.3 kW AC) | Level 2 Standard Setup (7.4 kW AC) | Level 2 Premium Setup (11 kW – 22 kW AC) |
| Hardware / EVSE Cost | Included with vehicle (or ₹10,000 – ₹18,000) | ₹25,000 – ₹45,000 | ₹50,000 – ₹85,000 |
| Heavy Armored Wiring & Conduits | ₹2,000 – ₹4,000 | ₹5,000 – ₹12,000 | ₹12,000 – ₹25,000 |
| Safety Switchgear (MCB/RCD/SPD) | ₹1,500 – ₹3,000 | ₹4,000 – ₹8,000 | ₹8,000 – ₹15,000 |
| Dedicated Earthing Assembly | Standard home ground | ₹3,000 – ₹5,500 | ₹3,000 – ₹5,500 |
| Labor & Engineering Fees | ₹1,500 – ₹2,500 | ₹3,000 – ₹6,000 | ₹5,000 – ₹10,000 |
| Utility Load Enhancement Fees | None (Runs on regular load) | ₹4,000 – ₹10,000 | ₹12,000 – ₹30,000 |
| Total Estimated Investment | ₹5,000 – ₹9,500 (excl. charger) | ₹44,000 – ₹86,500 | ₹90,000 – ₹1,71,000 |
7. Special Considerations for Apartment Dwellers & Condominiums
While executing an installation in an independent villa or single-family detached home is simple due to full structural ownership, doing so in multi-family apartment communities introduces unique logistical and administrative challenges.
Navigating Resident Association (RWA) Approvals
To secure permission from your building management board, you must present a detailed technical plan that addresses their primary logistical concerns:
- Clear Electrical Isolation: Assure the management board that the charger will be connected directly to your personal apartment electricity meter or an authorized independent utility sub-meter. No power will be drawn from the common community pool.
- Structural Integrity & Neat Enclosures: All wiring will run along dedicated, pre-approved structural cable trays, using heavily jacketed armored cables tucked neatly inside high-grade conduits. The charger unit itself will remain entirely within your deeded, designated parking space boundaries.
- Safety Compliance Certifications: Provide written documentation verifying that the installation will be completed by a certified technician and will feature dedicated circuit breakers and short-circuit protection gear to protect the broader building grid.
Static vs. Dynamic Load Balancing
In massive high-rise residential projects, if dozens of vehicles plug in simultaneously at 8 PM, the building’s main community transformer could face critical demand spikes.
To prevent this, look for Level 2 smart wallbox systems that feature Dynamic Load Balancing (DLB). These systems utilize smart current monitoring clamps installed at the main electrical panel. When the household or building power demand peaks (e.g., when water heaters and kitchen appliances are running), the smart charger automatically scales down its power draw. Once total building consumption drops late at night, the charger ramps back up to its full output capacity, ensuring a stable grid without overloading the local infrastructure.
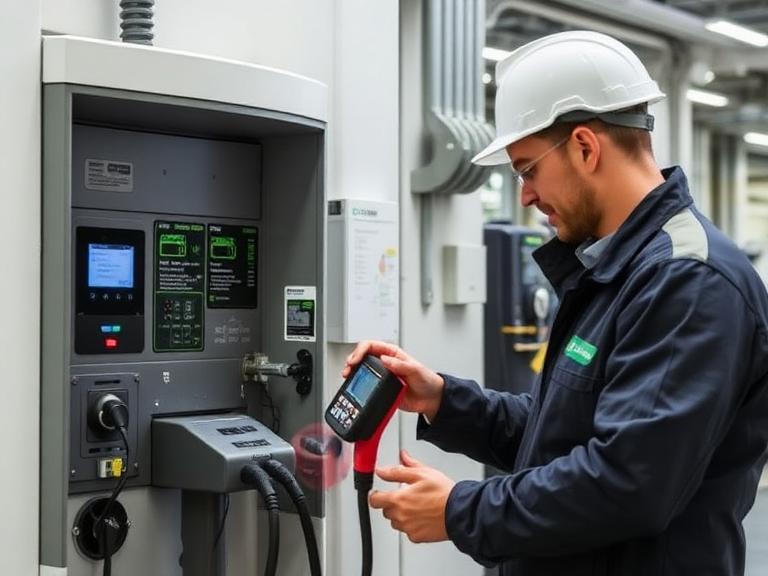
8. Essential Best Practices for Long-Term Operation
Once your home installation is fully operational, adopting these simple best practices will maximize your system’s efficiency, lower operational costs, and keep your components performing optimally for years.
- Leverage App Scheduling for Off-Peak Charging: Check your regional utility’s Time-of-Day (ToD) tariff rules. Program your charger’s mobile companion app to start charging automatically during low-tariff night hours. This reduces your overall fuel costs while minimizing strain on the local electrical grid.
- Maintain the 20-80% Daily Battery Range: For standard city driving, try to keep your electric car’s battery state of charge between 20% and 80% for daily use. Constantly topping the cells up to 100% or draining them to absolute zero causes more wear over time. Save your full 100% saturation charges for nights immediately preceding long highway road trips.
- Keep the Type-2 Gun Connector Clean and Holstered: Never leave your charging gun lying loosely on a damp garage floor where dust, moisture, or insects can collect inside the pins. Always snap the connector firmly back into its dedicated, integrated wall-mounted holster when it is not actively connected to the vehicle.
- Perform Annual Electrical Maintenance Checks: Treat your EVSE system with the same diligence as a central HVAC setup. Once a year, have a qualified electrician inspect the main distribution terminals to ensure no wires have loosened from thermal expansion, test the grounding loop resistance, and run a manual trip diagnostic on the Type-B RCD breaker.
9. Conclusion: Future-Proofing Your Smart Home
Investing in a proper home EV charger installation is the definitive step to unlocking the true potential of driving an electric vehicle. By coordinating with certified professionals, obtaining the necessary structural permissions, selecting high-quality smart hardware, and installing robust electrical safety protection, you transform your property into a modern, energy-efficient smart home.
As grid frameworks evolve, your home charging setup will stand as a reliable, cost-efficient, and incredibly convenient refueling station, powering your clean transportation needs for years to come.



Leave a Comment